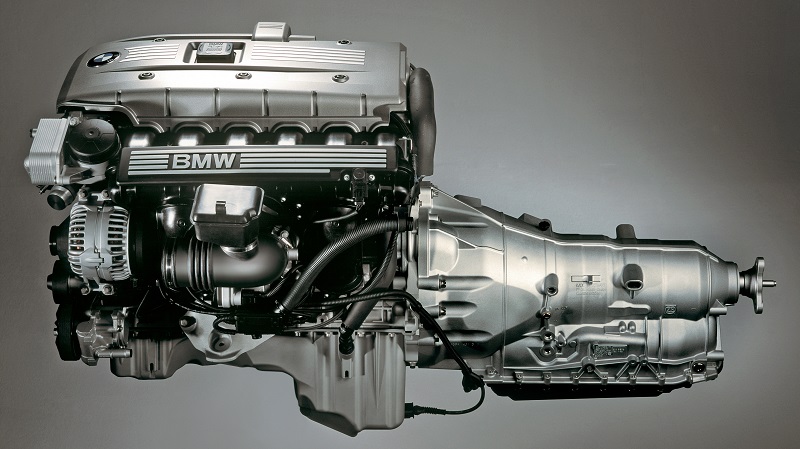
If you drive a mid-2000s to mid-2010s automatic BMW, there’s a solid chance that your car features a ZF 6HP transmission. It’s a proven setup that has worked well on numerous platforms, which is why BMW has chosen to use it in a wide range of models. However, one of the main reasons why there are so many older ZF 6HPs still trucking along is proper maintenance. Today, we’ll take you through the BMW ZF 6HP fluid and filter service procedure. It’s a fairly simple job that you can do at home, but one that promises to keep your BMW’s transmission on the road for years to come.

ZF 6HP Fluid and Filter — Lifetime Components?
Since the early 2000s, BMW, along with other manufacturers, had invested a lot of effort into reducing the amount of maintenance owners had to perform on their vehicles. The ZF 6HP transmission came with what BMW called a “lifetime fill”. In other words, the transmission fluid in these models was supposed to outlive the lifetime of the vehicle itself. Of course, that was a long shot that fell way too short.
Contrary to what BMW says, you should perform the ZF 6HP fluid and filter service every 50,000 to 60,000 miles. That is the only way to keep the transmission in good condition. Leaving factory fluid in there can cause all kinds of problems.
Some of these issues you could run into with an improperly maintained ZF 6HP automatic transmission include:
- Delayed shifts
- Issues with gear engagement
- Rough shifts
- Overheating of the entire unit
- Various clutch issues
You could also end up with a leaking Mechatronic sleeve, which we’ve written extensively about. Long story short, you should do your best to stick to the 50,000 miles service interval the best you can.
With that out of the way, let’s talk transmission fluid and filter options.
The Importance of ZF Lifeguard-6
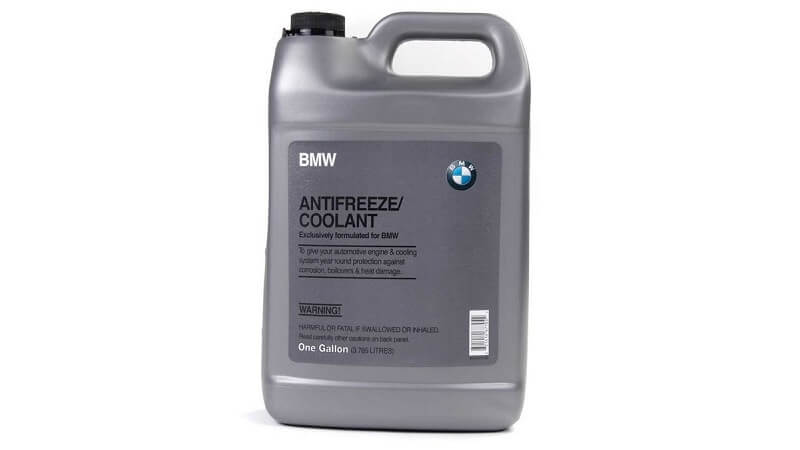
ZF transmissions are fairly durable, but they’re designed to work with a very narrow range of fluids. Over time, the entire BMW community has realized that the best option for a ZF 6HP transmission is ZF’s own Lifeguard-6 fluid. This particular product was formulated specifically for these transmissions. There are also BMW-specific AT fluids out there, which are also compatible as they’re produced following the same specs.
However, it is not recommended that you use a generic fluid or one that doesn’t meet ZF’s rather strict specs. Doing so can lead to all kinds of transmission issues usually end up costing way more than a bottle of ZF Lifeguard-6.
Use a New ZF 6HP Filter
Filters on many automatic transmissions are separate, standalone units. That’s not the case with ZF 6HP. On this setup, the filter is integrated into the fluid pan. To change the filter, you’ll need to get the whole pan/filter assembly. It’s not the cheapest filter in the world, but getting a new one pays dividends.
We strongly recommend that you only use Genuine BMW transmission fluid pan/filter assemblies as anything else could potentially compromise the entire ZF 6HP unit.
How to Change the Fluid and Filter on ZF 6HP?
Before starting the automatic transmission fluid and filter change procedure, warm up the transmission by driving the vehicle for a few miles.
Safely raise the vehicle so that the transmission pan is accessible (hydraulic vehicle lift or jack and jack stands). The vehicle must be basically level once it is raised. This means that the front AND the rear must be raised/lifted, so it’s best that you use 4 jack stands of the same type/size
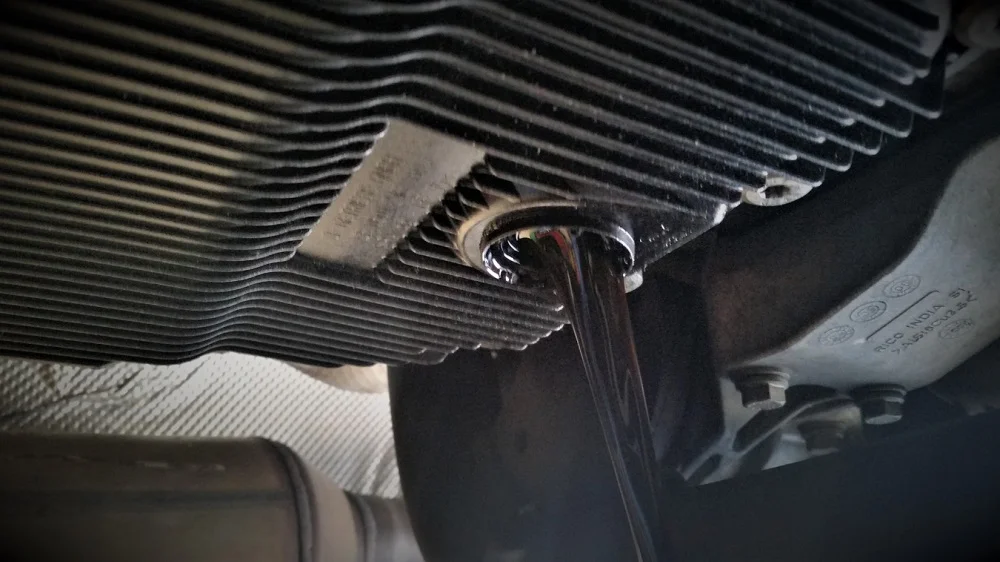
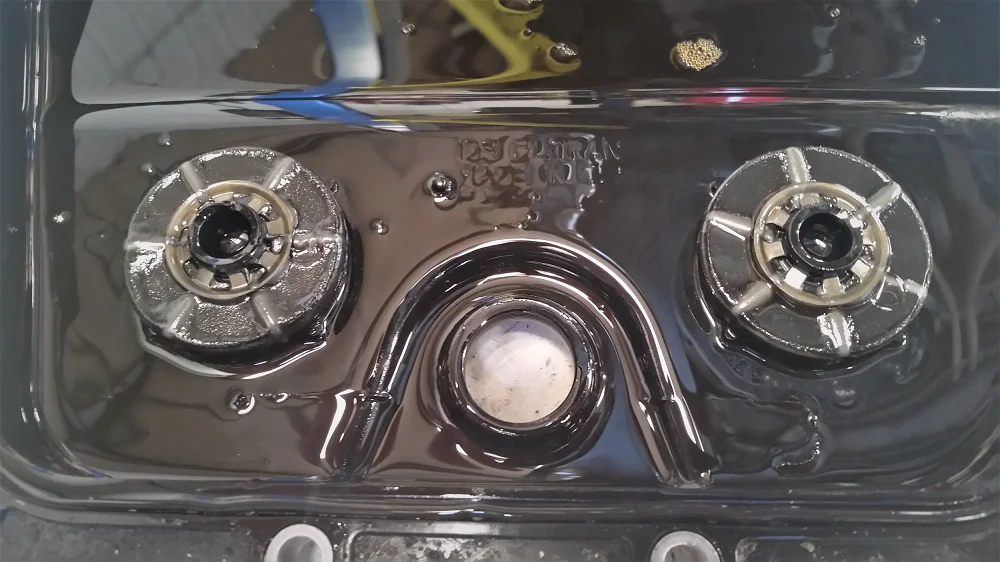
Place a drain pan under the transmission fluid pan, in a way that it will catch the draining fluid once the drain plug is removed. Locate the plastic transmission fluid drain plug, and loosen it using a 10 mm hex bit. Remove the plug and drain the fluid into the drain pan.
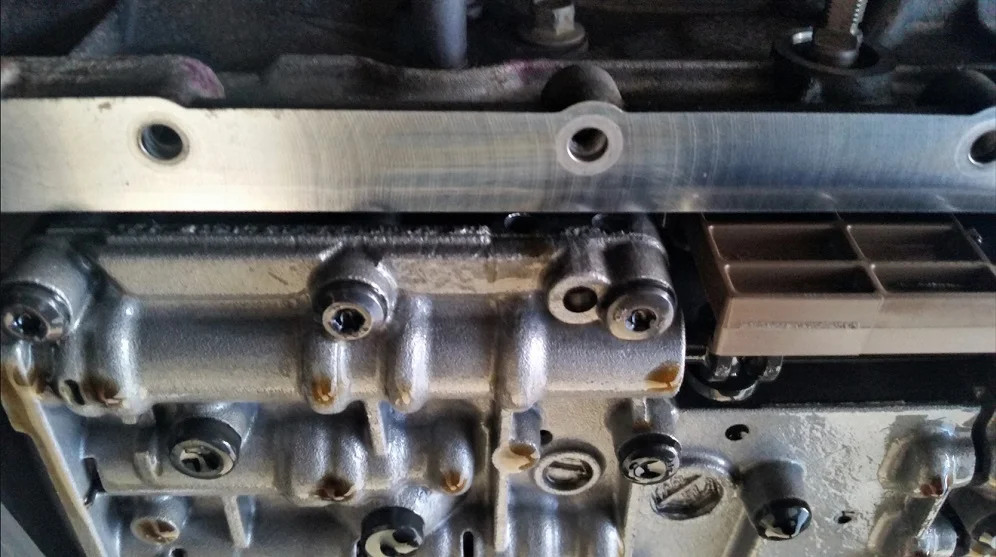
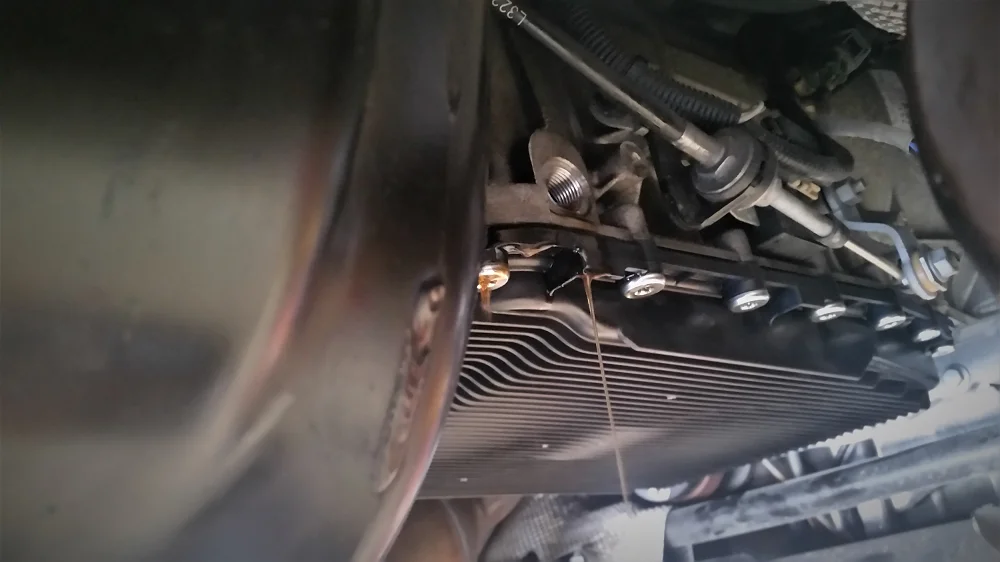
Step 1 – Remove the Pan Bolts
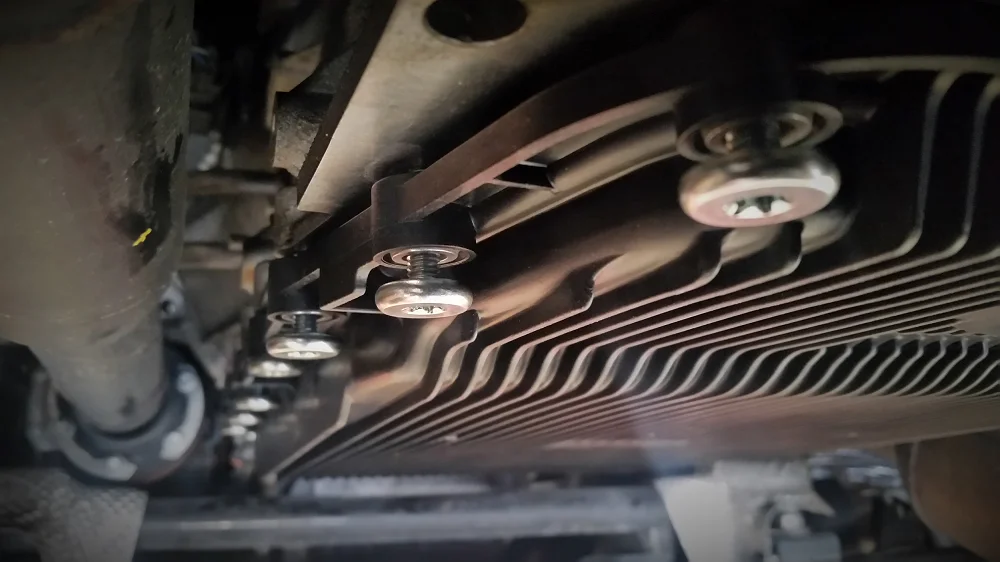
With the fluid pan empty, start working on removing bolts that are securing the pan to the transmission. You’ll need a T40 Torx bit for this part. Leave one bolt on each corner of the pan loosened while removing the rest. That way the pan won’t just drop on you, splattering residual AT fluid all over the place.
Step 2 – Inspect the Pan Magnets
Inspect the pan magnets for any abnormal metal fragments. It will be normal for the magnets to have accumulated some amount of friction material. The magnets shown here indicate normal wear. Larger pieces or a noticeably heavier accumulation may indicate abnormal transmission wear or overly extended fluid change intervals.
Step 3 – Clean the Pan Gasket Mating Surface
Make sure that the pan gasket mating surface is clean and smooth. There can’t be any debris, oil, or anything else left behind. Otherwise, once you put the pan back on, it won’t seal, causing potential leaks down the road.
Step 4 – Prep the New Pan/Filter Assembly
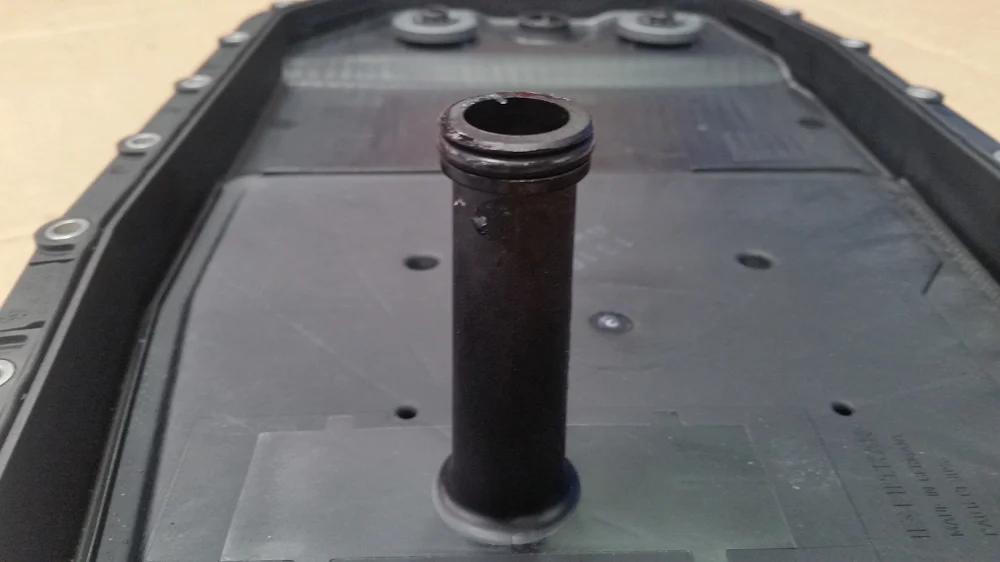
Lubricate the oil filter tube o-ring on the new pan/filter assembly using light silicon grease or fresh transmission fluid. Before installing, ensure that the o-ring from the old pan has been removed from the transmission mounting hole.
Step 5 – Raise the Pan
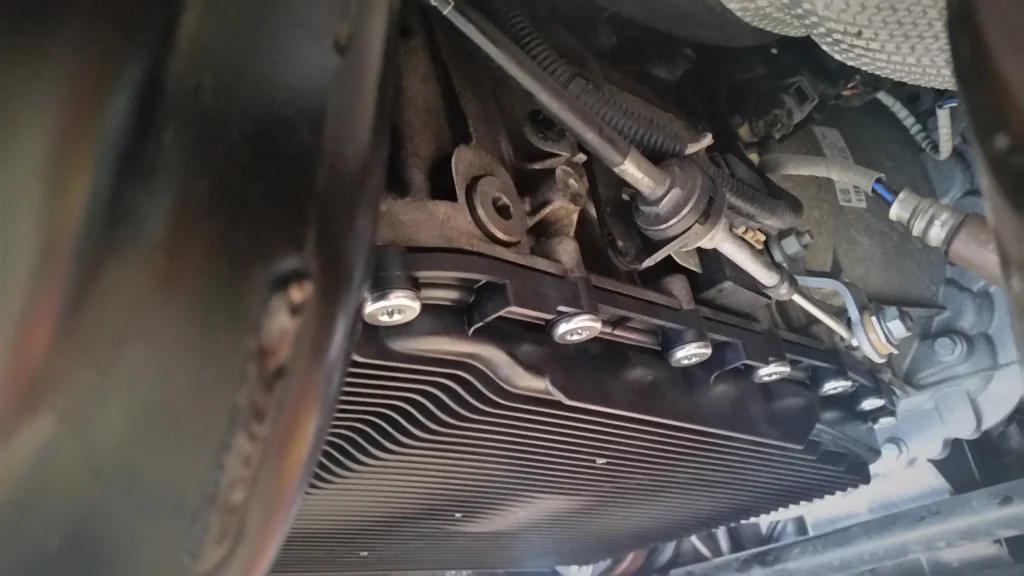
Raise the pan into position and assure that the filter tube properly mates with the mounting hole in the transmission. Install a couple of pan bolts to hold the pan in place while you then install all of the remaining bolts. Thread all the new fluid pan bolts by hand prior to torquing them. Torque the bolts to 6 ft/lbs (8Nm).
Step 6 – Add New Fluid

Locate the fill plug on the driver side, rear, of the transmission body, just above the pan. Loosen and remove the fill plug, using an 8 mm hex bit. The fill plug can be difficult to break loose, so take care not to damage the inside of the bolt head.
Using a fluid transfer pump, fill the transmission until fluid leaks from the fill hole. Temporarily install the fill plug to prevent fluid loss.
Step 7 – Walk the Gears
Start the engine and move the transmission gear selector lever through each of the gear ranges several times (with your foot firmly on the brake pedal during the full process). Return the gear selector to the PARK position.
Step 8 – Check the Temp
Monitor the transmission temperature with a factory-compatible scan tool. When the transmission fluid temperature reaches a minimum of 30°C (86°F) the fluid level can be checked. Alternatively, a DIYer can use an infrared pyrometer to check the pan temperature. The plastic pan should be at least 80 to 85 degrees.
Step 9 – Fill It Up All the Way
With the transmission fluid properly warmed, gear selector in PARK, and the engine running (engine MUST be running), remove the fill plug and add additional fluid until the fluid again leaks from the fill hole.
Step 10 – Plug the Pan and Check for Leaks
Install the fill plug with a new gasket and torque to 26 ft/lbs (35Nm). Check for leakage around the new pan. If all is proper, safely lower the vehicle and perform a test drive.
Get Genuine ZF 6HP Fluid and Filter Parts For Your Car
The original ZF fluids and genuine BMW parts are the key prerequisites for a ZF 6HP fluid and filter service. To find a service kit that matches your car, simply head over to our store and select your vehicle using our vehicle selection tool. Once our system crunches the data, you’ll get a list of products and parts that match your input. ZF fluids and genuine fluid pan/filter assemblies will be among the results.