As a BMW owner, you understand what makes these cars so great. From exhilarating power to impressive driving experience — most BWMs are incredibly fun to drive. To ensure that your BMW continues to deliver an exceptional driving experience, regular maintenance is essential. While some maintenance tasks may require professional expertise, there are several essential maintenance tasks you can confidently tackle yourself. Not only will these tasks help keep your BMW in optimal condition, but they can also save you time and money.
In this blog post, we will guide you through 7 essential BMW maintenance tasks that you can easily perform on your own. From simple tasks like oil changes to more involved procedures like brake pad replacement, we will provide you with rough step-by-step instructions and valuable tips to get the job done. By taking charge of your BMW’s maintenance, you’ll not only deepen your connection with your vehicle but also gain the satisfaction of knowing that you’ve played a vital role in keeping it running smoothly.
Oil Change
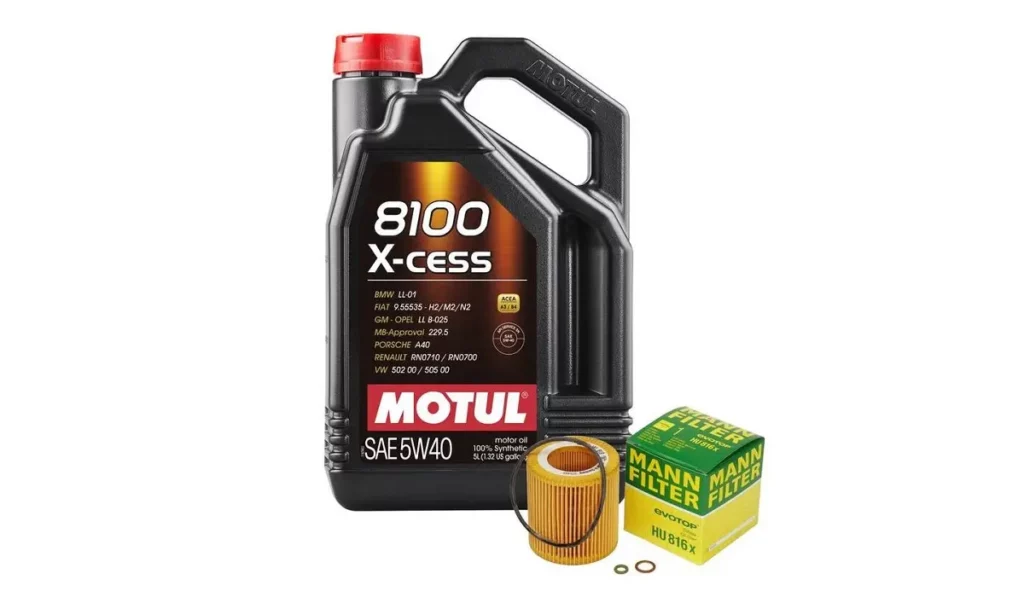
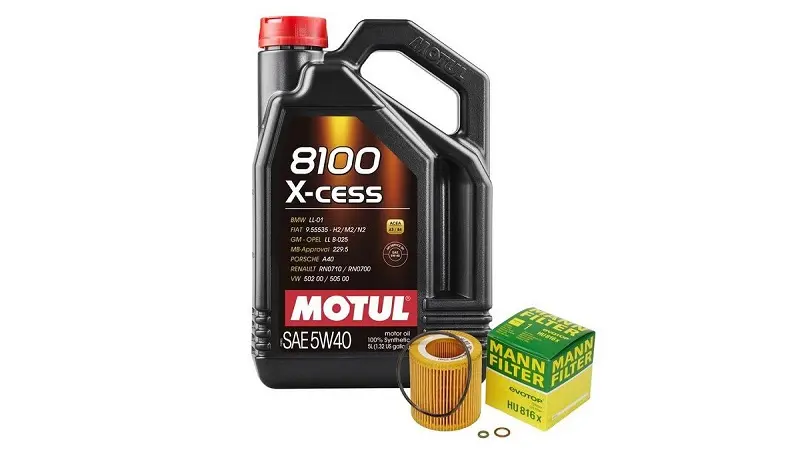
Regular oil changes are fundamental to the longevity and performance of your BMW’s engine. Engine oil lubricates moving parts, reduces friction, and helps dissipate heat, ensuring smooth operation and preventing premature wear. By changing the oil at recommended intervals, typically every 5,000 to 7,500 miles, you can maintain optimal engine health and performance.
Get oil change kits for your BMW!
To perform an oil change on your BMW, follow these steps:
Gather the necessary tools and materials — You’ll need a socket wrench, oil filter wrench, drain pan, new oil filter, and the appropriate type and quantity of engine oil as specified in your owner’s manual.
Prepare your BMW — Park the vehicle on a level surface and engage the parking brake. Allow the engine to cool down to prevent burns.
Locate the oil drain plug — Consult your owner’s manual to find the location of the oil drain plug. Position the drain pan beneath the plug.
Drain the old oil — Use a socket wrench to carefully loosen and remove the oil drain plug. Allow the old oil to completely drain into the pan. Be cautious as the oil may still be hot.
Replace the oil filter — Use an oil filter wrench to remove the old oil filter. Apply a thin layer of fresh oil to the rubber gasket of the new oil filter. Install the new filter by hand, ensuring a snug fit.
Install the drain plug — Once the old oil has fully drained, reinstall the drain plug and tighten it securely using a socket wrench. Be careful not to overtighten.
Add fresh oil — Locate the oil filler cap under the hood and remove it. Insert a funnel into the oil filler hole and pour in the recommended amount of new oil. Check the oil level using the dipstick and add more if necessary.
Check for leaks — Start the engine and let it run for a few minutes. Inspect the area around the oil drain plug and oil filter for any signs of leaks. If you detect any leaks, tighten the affected component or seek professional assistance.
Dispose of the used oil properly — Used oil should never be discarded with regular household waste. Take it to a recycling center or an authorized facility for proper disposal.
Air Filter Replacement
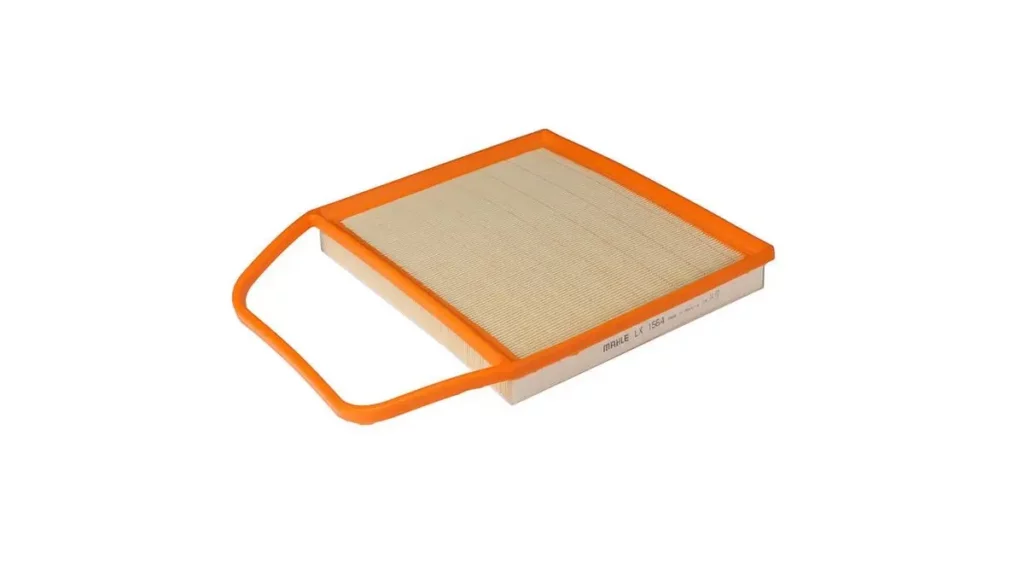
A clean and efficient air filter is crucial for your BMW’s engine performance. The air filter prevents dirt, dust, and other contaminants from entering the engine, ensuring that only clean air reaches the combustion chamber. Over time, the air filter can become clogged, restricting airflow and reducing engine efficiency. Therefore, regular air filter replacement is essential to maintain optimal performance and fuel efficiency.
Get quality air filters for your car!
To replace the air filter in your BMW, follow these steps:
Determine the air filter location — Consult your owner’s manual to locate the air filter housing in your BMW. In most models, the air filter housing is located near the engine, usually covered by a plastic or metal casing.
Remove the air filter housing cover — Depending on the type of casing, you may need to use a screwdriver or socket wrench to remove the screws or clips securing the cover. Carefully lift off the housing cover to access the air filter.
Inspect the old air filter — Take a close look at the old air filter and check for dirt, debris, or signs of damage. If the filter appears dirty or clogged, it’s time for a replacement.
Replace the air filter — Remove the old air filter from the housing and dispose of it properly. Take the new air filter and align it correctly in the housing, ensuring it fits snugly. Refer to any instructions or markings on the new filter for proper orientation.
Reassemble the air filter housing — Place the housing cover back onto the air filter housing and secure it with the screws or clips. Ensure that the cover is properly aligned and tightly fastened.
Test the new air filter — Start your BMW’s engine and let it run for a few minutes. Check for any unusual sounds or vibrations, which could indicate an improper installation. Also, inspect the air filter housing for any signs of air leaks.
Maintenance schedule — Keep track of the date and mileage of the air filter replacement to ensure timely future replacements. It’s generally recommended to replace the air filter every 15,000 to 30,000 miles, but refer to your owner’s manual for the specific intervals for your BMW model.
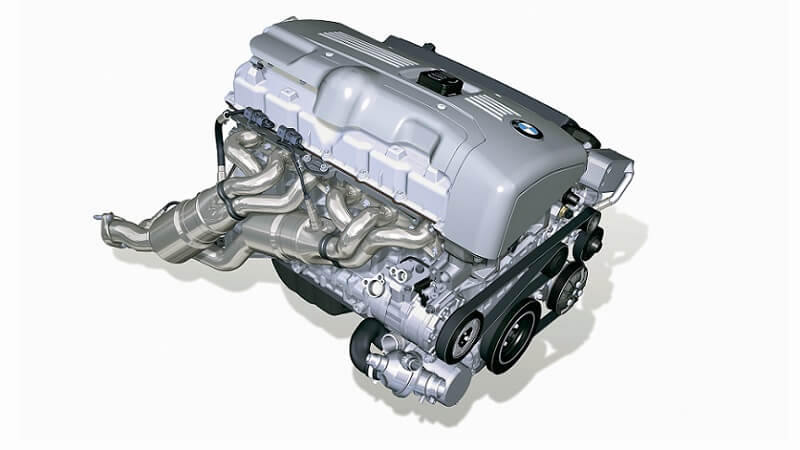
Spark Plug Replacement
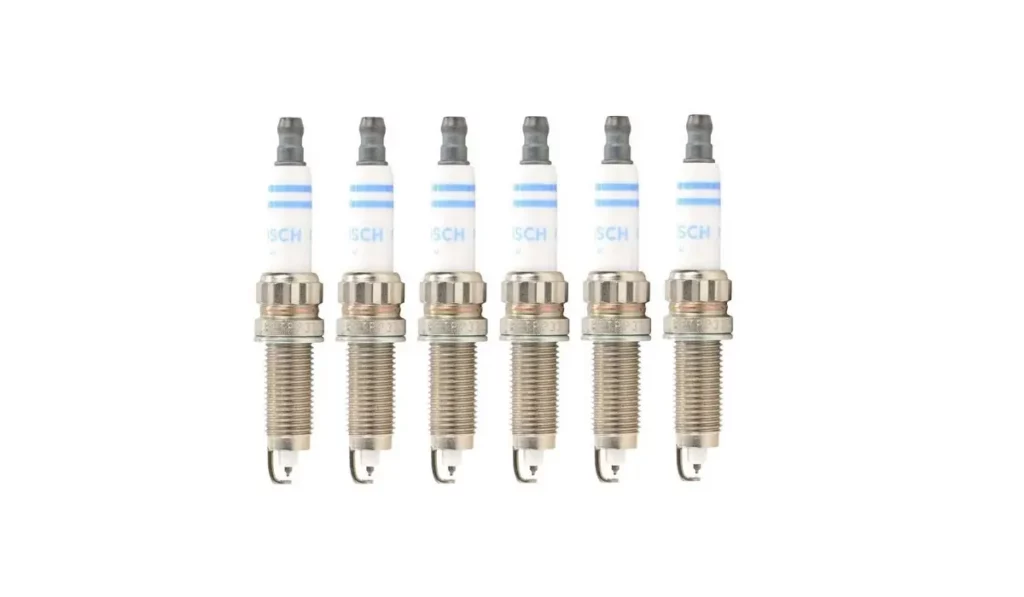
Spark plugs play a vital role in your BMW’s ignition system, providing the spark needed to ignite the air-fuel mixture in the combustion chamber. Over time, spark plugs can become worn, resulting in misfires, reduced fuel efficiency, and diminished engine performance. Therefore, regular spark plug replacement is essential to maintain smooth engine operation and maximize fuel efficiency.
Find premium spark plugs for your BMW engine!
To replace the spark plugs in your BMW, follow these steps:
Gather the necessary tools and materials: You’ll need a spark plug socket, a socket wrench, a spark plug gap tool, and the appropriate replacement spark plugs for your BMW model. Consult your owner’s manual or a trusted parts supplier to ensure you have the correct spark plugs.
Locate the spark plugs — Depending on your BMW model, the spark plugs may be located on the top or side of the engine. Refer to your owner’s manual or online resources for the exact location.
Prepare the engine — Ensure that the engine is cool before proceeding with the replacement. Disconnect the negative terminal of the battery to prevent any electrical mishaps.
Remove the old spark plugs — Use the spark plug socket and socket wrench to carefully loosen and remove one spark plug at a time. Pay attention to the order and position of each spark plug for accurate replacement.
Install the new spark plugs — Carefully insert each new spark plug into the corresponding cylinder using your hand. Use the spark plug socket and socket wrench to tighten the spark plugs snugly, ensuring not to overtighten.
Repeat for all spark plugs — Repeat steps 4 to 6 for each spark plug in your BMW’s engine, working methodically and double-checking the proper positioning and torque.
Reconnect the battery — Once all the spark plugs are replaced, reconnect the negative terminal of the battery.
Test the new spark plugs — Start the engine and listen for any unusual sounds or vibrations. Observe the engine’s performance to ensure smooth operation and improved responsiveness.
Maintenance schedule — Note the date and mileage of the spark plug replacement for future reference. Typically, spark plugs should be replaced every 30,000 to 50,000 miles, but refer to your owner’s manual for the manufacturer’s recommendations.
Battery Maintenance
Your BMW’s battery is not only responsible for starting the engine but also powering various electrical systems and components in your vehicle. To ensure reliable starts and optimal electrical system performance, proper battery maintenance is essential. By following a few simple steps, you can prolong the life of your battery and minimize the risk of unexpected failures.
Here are some battery maintenance tasks you can perform:
Regular visual inspection: Periodically inspect the battery for any signs of damage, corrosion, or loose connections. Look for cracks, bulges, or leakage around the battery casing. Clean any corrosion on the battery terminals and cables using a mixture of baking soda and water, along with a wire brush. Rinse with clean water and ensure all connections are tight.
Check battery voltage — Using a digital multimeter, measure the voltage of your BMW’s battery. A healthy battery should read around 12.6 volts or higher when the engine is off. If the voltage is significantly lower, it may indicate a weak or discharged battery that may need charging or replacement.
Maintain proper charge — If your BMW is not driven frequently, it’s important to maintain the battery’s charge to prevent it from fully discharging. Consider using a battery maintainer or trickle charger specifically designed for BMW batteries. These devices will keep the battery at an optimal charge level and prevent sulfation, which can lead to decreased battery performance.
Avoid excessive electrical load — Minimize the use of electrical accessories (such as lights, radio, or air conditioning) when the engine is off or idling. Excessive electrical load can strain the battery and reduce its lifespan.
Extreme temperature considerations — Extreme cold or hot temperatures can affect battery performance. If you live in an area with extreme temperatures, consider using a battery insulation blanket or parking your BMW in a temperature-controlled environment to mitigate the impact on the battery.
Battery replacement — Eventually, even with proper maintenance, your BMW’s battery will reach the end of its lifespan. It’s important to monitor the age and condition of the battery and replace it when necessary. Refer to your owner’s manual or consult a professional for guidance on the appropriate battery type and replacement procedure.
Brake Pad Replacement
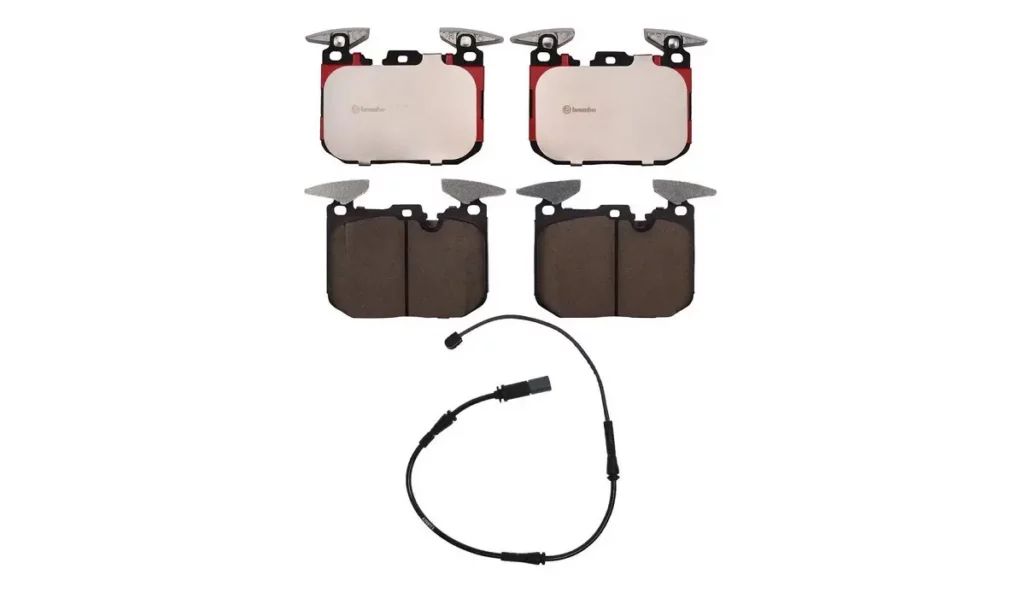
Maintaining properly functioning brake pads is crucial for your BMW’s safety and braking performance. Over time, brake pads wear down due to friction, and neglecting their replacement can lead to reduced braking efficiency and potential damage to other braking components. By regularly inspecting and replacing your brake pads, you can ensure responsive and reliable braking in your BMW.
Find premium brake pads for your BMW!
Follow these steps to replace the brake pads in your BMW:
Gather the necessary tools and materials — You’ll need a lug wrench, a C-clamp or brake caliper compression tool, a socket set, a brake piston retraction tool (if necessary), a wire brush, brake pad lubricant, and the appropriate replacement brake pads for your BMW model. Refer to your owner’s manual or consult a trusted parts supplier to ensure you have the correct brake pads.
Prepare your BMW — Park the vehicle on a level surface and engage the parking brake. Loosen the lug nuts of the wheels on the axle where you’ll be replacing the brake pads, but do not remove them yet.
Lift the vehicle — Using a jack, carefully lift the front or rear of your BMW (depending on the axle you’re working on) and secure it with jack stands. Ensure the vehicle is stable and secure before proceeding.
Remove the wheels — Completely remove the lug nuts and take off the wheels to access the brake components.
Inspect the brake pads — Examine the brake pads for wear. If the brake pad thickness is at or below the manufacturer’s recommended minimum thickness, it’s time to replace them. Additionally, check for any signs of damage or uneven wear on the brake rotor surface.
Remove the brake caliper — Locate the brake caliper, which is secured by bolts or pins. Use a socket wrench to remove the caliper bolts/pins and carefully slide the caliper off the brake rotor. Be cautious not to damage the brake hose.
Replace the brake pads — Take note of the current positioning of the brake pads. Remove the old brake pads from the caliper bracket or housing. Install the new brake pads in the same orientation, ensuring they fit securely. Apply brake pad lubricant to the contact points between the brake pads and the caliper bracket.
Compress the brake caliper piston — BMW models have a brake caliper piston that needs to be compressed before fitting new brake pads. Use a brake piston compression tool or a C-clamp to carefully compress the piston back into its housing.
Reassemble the brake caliper — Slide the brake caliper back over the brake rotor and align it with the caliper bracket. Reinstall and tighten the caliper bolts/pins securely.
Repeat for the other wheels — Repeat steps 6 to 9 for each wheel on the axle where you’re replacing the brake pads.
Reinstall the wheels — Place the wheels back onto the wheel studs and hand-tighten the lug nuts. Lower the vehicle using the jack, and then use a torque wrench to properly tighten the lug nuts according to the manufacturer’s specifications.
Test the brakes — Before driving, pump the brake pedal a few times to ensure proper brake pad positioning. Start the engine and test the brakes at low speeds to confirm their responsiveness. Listen for any unusual noises or vibrations during braking. If everything feels and sounds normal, you can proceed with regular driving.
Tire Rotation and Balancing
Proper tire maintenance is crucial for maintaining traction, handling, and overall safety in your BMW. Tire rotation and balancing are essential tasks that help ensure even tire wear, extend tire life, and enhance the overall performance of your vehicle. By following a regular tire maintenance schedule, you can optimize the lifespan of your BMW’s tires and maintain a smooth and comfortable ride.
Here’s how you can perform tire rotation and balancing on your BMW:
Determine the recommended rotation pattern — Consult your owner’s manual or check with a reputable tire professional to identify the recommended tire rotation pattern for your specific BMW model. The most common rotation patterns are front-to-back and cross-pattern rotation.
Gather the necessary tools — You’ll need a lug wrench, a jack, and jack stands to safely lift and support your vehicle.
Lift the vehicle — Using a jack, lift one side of your BMW at a time and secure it with jack stands. Ensure that the vehicle is stable and securely supported before proceeding.
Remove the wheels — Loosen the lug nuts of the wheels on the selected side and completely remove them. Take off the wheels and set them aside.
Perform tire rotation — Follow the recommended rotation pattern for your BMW. For front-to-back rotation, move the front tires to the rear and the rear tires to the front. For cross-pattern rotation, move the front-left tire to the rear-right position, the front-right tire to the rear-left position, and vice versa. Place the spare tire, if applicable, in the appropriate position according to the rotation pattern.
Inspect the tires and adjust tire pressure — While the wheels are off, inspect the tires for any signs of damage, uneven wear, or bulges. Check the tire pressure using a tire pressure gauge and adjust it to the recommended PSI (pounds per square inch) as specified in your owner’s manual or the tire placard located on the driver’s side door jamb.
Reinstall the wheels — Carefully place the wheels back onto the wheel studs and hand-tighten the lug nuts. Lower the vehicle using the jack, and then use a torque wrench to properly tighten the lug nuts according to the manufacturer’s specifications.
Follow a regular maintenance schedule — Establish a regular tire rotation and balancing schedule based on the recommendations in your owner’s manual. Typically, tire rotation is recommended every 5,000 to 7,500 miles, while tire balancing is performed when needed or during each rotation.
Fluid Level Maintenance
Proper fluid levels are vital for the smooth operation and longevity of your BMW’s various systems. Regularly checking and topping up essential fluids ensures optimal performance, prevents damage, and reduces the risk of costly repairs. Here are the key fluids to monitor and maintain in your BMW:
Get premium fluids and lubricants for your BMW!
Engine Oil
Engine oil lubricates the engine’s moving parts, reducing friction and preventing excessive wear. To check the oil level, park your BMW on a level surface and wait for the engine to cool down. Locate the oil dipstick, usually marked with a yellow handle, and remove it. Wipe the dipstick clean, reinsert it fully, and then remove it again. Check that the engine oil level is between the minimum and maximum marks. If it’s low, add the recommended oil type in small increments, rechecking the level until it reaches the appropriate range.
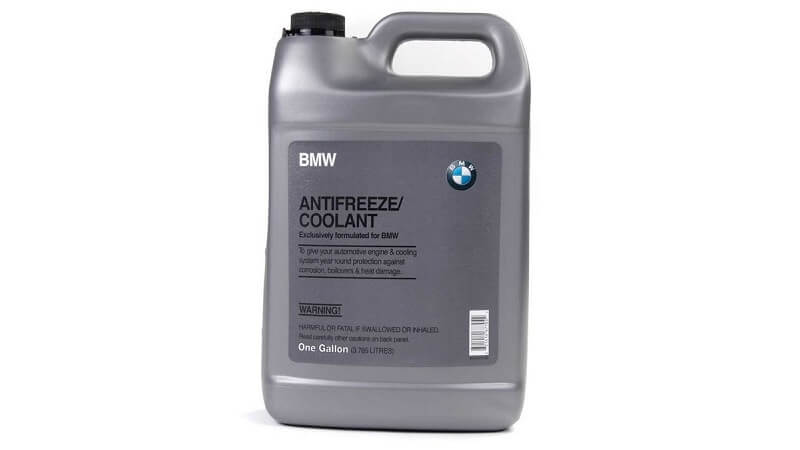
Coolant/Antifreeze
Coolant helps regulate the engine’s temperature and prevents it from overheating. Before checking the coolant level, ensure the engine is cool. Locate the coolant reservoir, typically a translucent tank with level markings. The coolant level should be between the minimum and maximum marks. If necessary, add a mixture of coolant and water to maintain the proper level. Refer to your owner’s manual for the correct coolant type and mixing ratios.
Brake Fluid
Brake fluid transmits hydraulic pressure to the brake components, allowing for effective braking. Locate the brake fluid reservoir, usually mounted on top of the master cylinder near the firewall. The reservoir has minimum and maximum level markings. Ensure the brake fluid level is within this range. If low, carefully remove the cap and add the recommended brake fluid type. Be cautious as brake fluid is corrosive and can damage paint surfaces.
Power Steering Fluid
Power steering fluid assists in smooth steering wheel operation and enhances maneuverability. Locate the power steering fluid reservoir, typically near the front of the engine compartment. The reservoir may have level markings or a dipstick. Ensure the fluid level falls between the recommended limits. Add the recommended power steering fluid if necessary, being careful not to overfill.
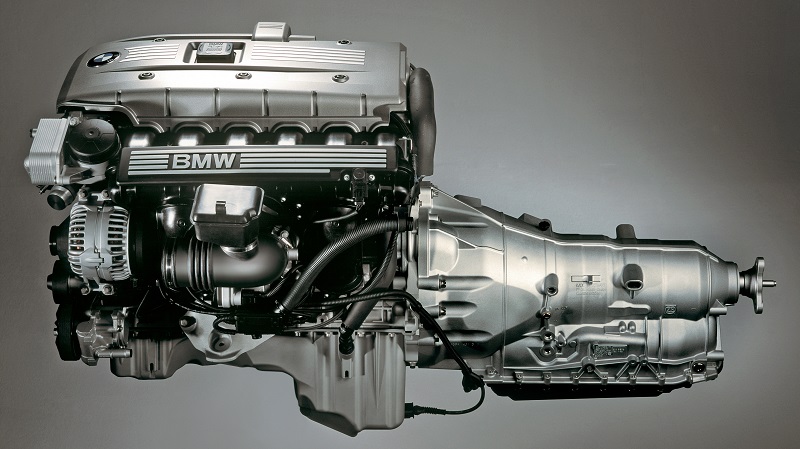
Transmission Fluid
Transmission fluid allows smooth gear shifts and ensures proper transmission function. Checking the transmission fluid level in a BMW varies depending on the model and transmission type. Some models require the fluid to be checked while the engine is running and the transmission is in neutral or park, while others require the engine to be off. Consult your owner’s manual for the correct procedure and fluid level indications. If low, add the specified transmission fluid gradually until the level is within the recommended range.
Washer Fluid
Washer fluid helps keep your windshield clean for optimal visibility. Locate the windshield washer fluid reservoir, typically near the front of the engine compartment. The reservoir is transparent, allowing for easy level inspection. Ensure the fluid level is sufficient for proper windshield cleaning. If low, fill the reservoir with a windshield washer fluid that provides good cleaning and freeze protection.
Get All Your Supplies at Bimmers.com!
In this article, we’ve highlighted 7 essential BMW maintenance tasks that you can confidently tackle on your own. Proper maintenance plays a critical role in maximizing the longevity, performance, and overall enjoyment of your BMW. By taking proactive measures and performing essential maintenance tasks yourself, you can not only save money on costly repairs but also develop a deeper understanding of your vehicle.
Save even more money by getting all your BMW maintenance supplies here at Bimmers.com! Check our catalog and find a wide range of quality products, fluids, and parts for your car.