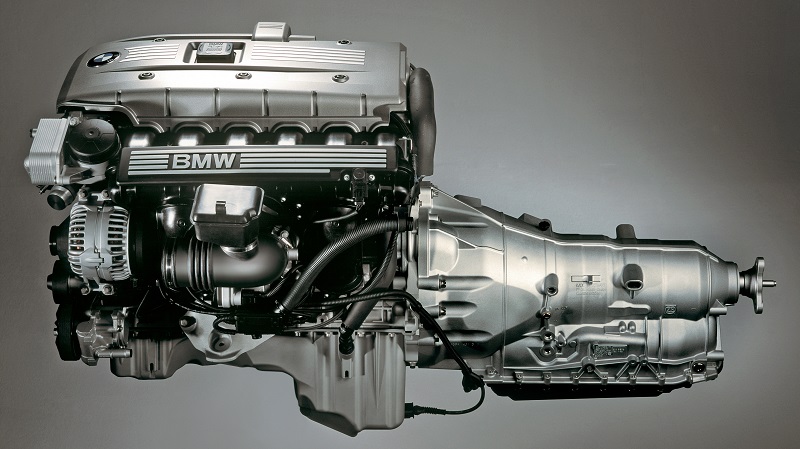
The ZF 6HP automatic transmission is found in many BMW models built from the mid-2000s through the mid-2010s. A common issue is external fluid leakage from the plastic oil pan and/or the Mechatronic connector sleeve. The Mechatronic connector sleeve is the plastic connector for the vehicle wiring harness connection to the transmission. Since this connection goes inside the transmission, it must also seal the transmission fluid.
Over time, the sleeve’s seal begins to leak. In this DIY, we’ll show how to replace the Mechatronic Sleeve on the ZF GA6HP19 6-speed automatic transmission as used in various 1, 3, 5, 6, 7, X1, X3, X5, and X6 models. Since we will be removing the fluid pan and the fluid in order to access the Mechatronic Sleeve, this is also a good time to replace the filter and add fresh fluid.
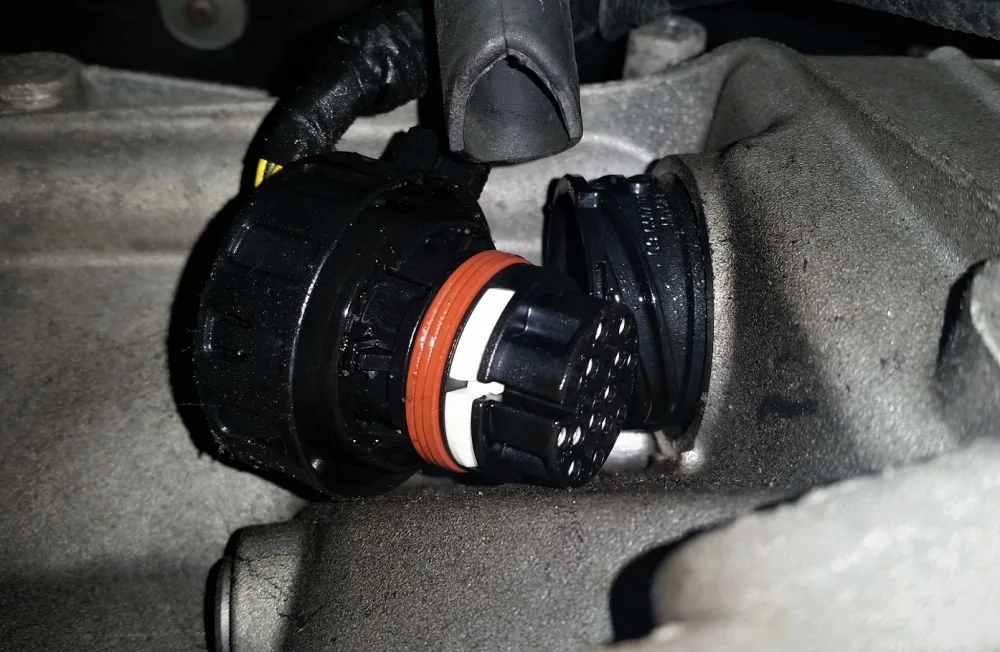
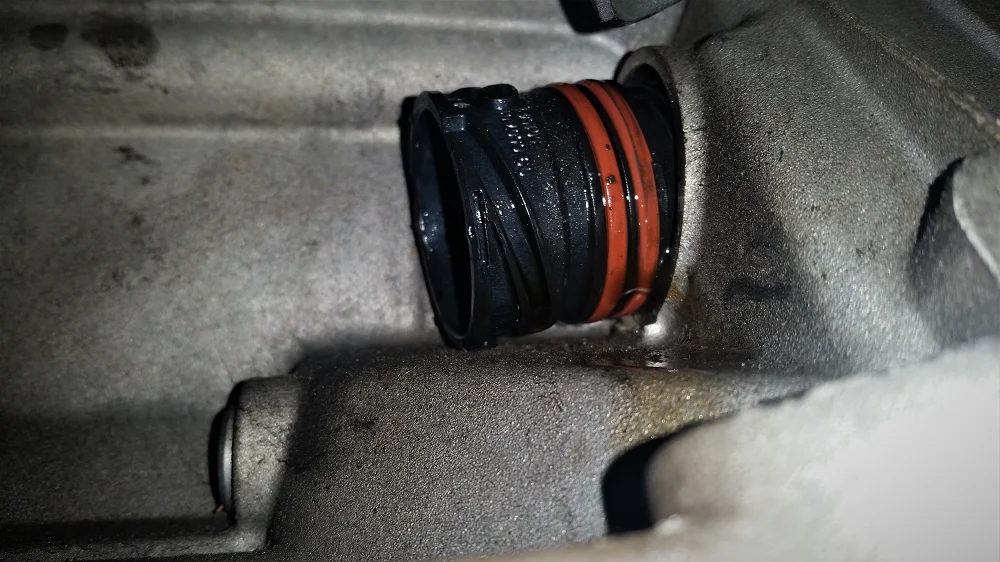
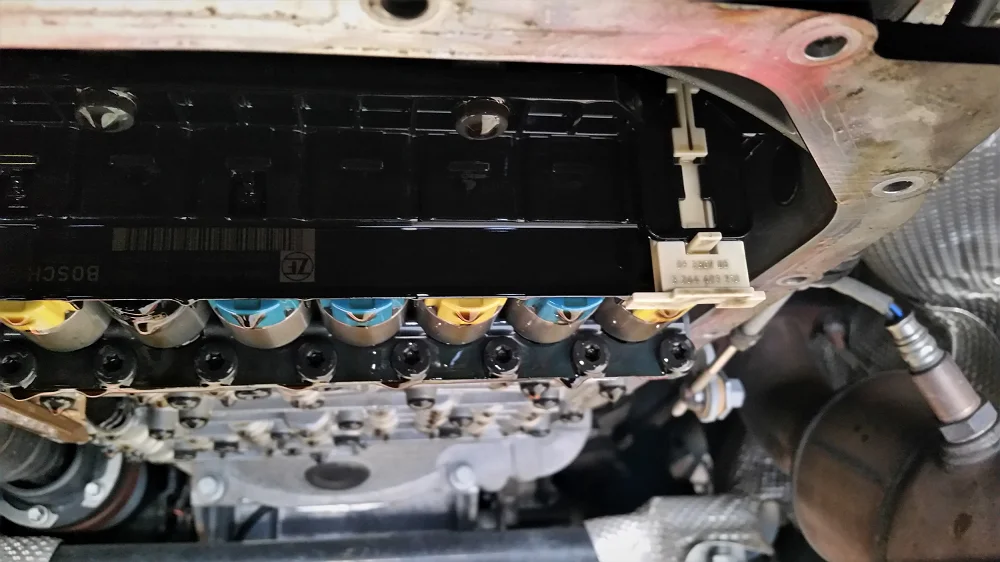
Signs of a Leaking Mechatronic Sleeve on ZF 6HP Transmission

In the photo above, the Mechatronic connector sleeve is beginning to show evidence of oil seepage. The seepage is in its early stage. Commonly, this will be a full fluid leak and will produce fluid drips on the ground by the time the leakage is noticed.
That being said, there are a number of symptoms that can point to a leaking Mechatronic sleeve before you start leaving trails of transmission fluid everywhere you go. It’s not uncommon for the ZF 6HP to have trouble shifting due to this issue. Then again, you could potentially start experiencing problems that are otherwise related to low transmission fluid.
How to Replace a Leaking Mechatronic Sleeve?
A faulty Mechatronic sleeve isn’t exactly a simple fix, but it’s more than doable as a DIY project. We’ve put together a step-by-step guide that you can use to get this done in your own garage. Let’s get to it!
Step 1 – Drain the Transmission Fluid and Drop the Pan
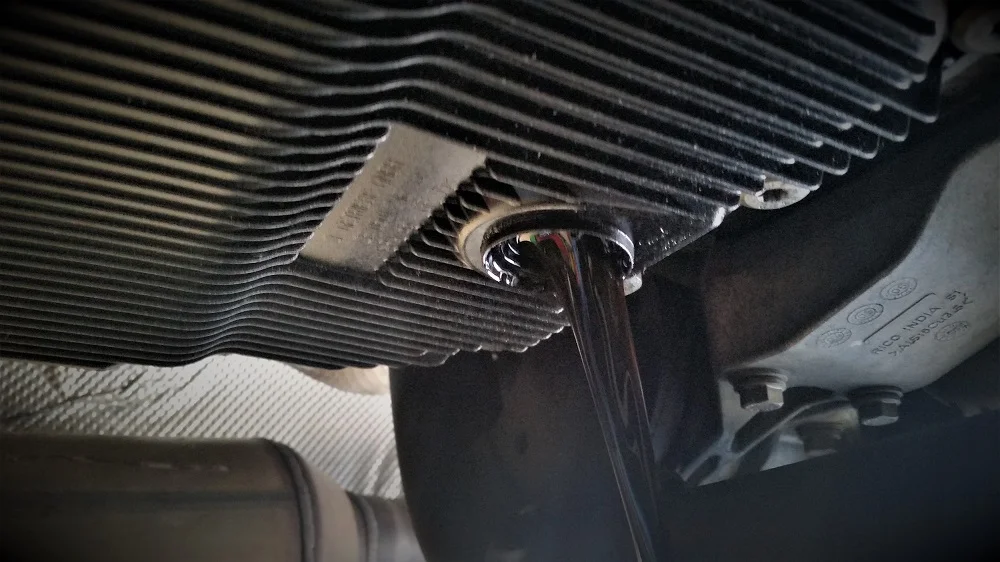
Since we’re going after the Mechatronic unit hidden behind the transmission pan, you’ll first need to drain the fluid from your transmission. We’ve written a full guide on how to do a transmission drain, filter replacement and fluid replacement on this particular gearbox, so we won’t go too far into details. That being said, you’ll want to loosen up the fill plug before you undo the drain plug. That way most of the fluid will come out of the transmission. Once that happens, start working on all 24 bolts that hold the pan in place.
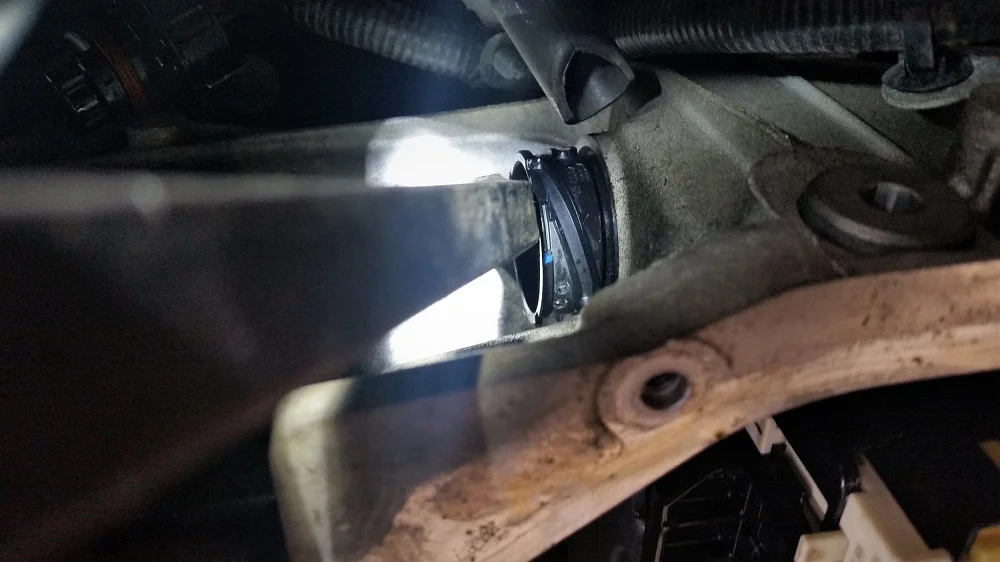
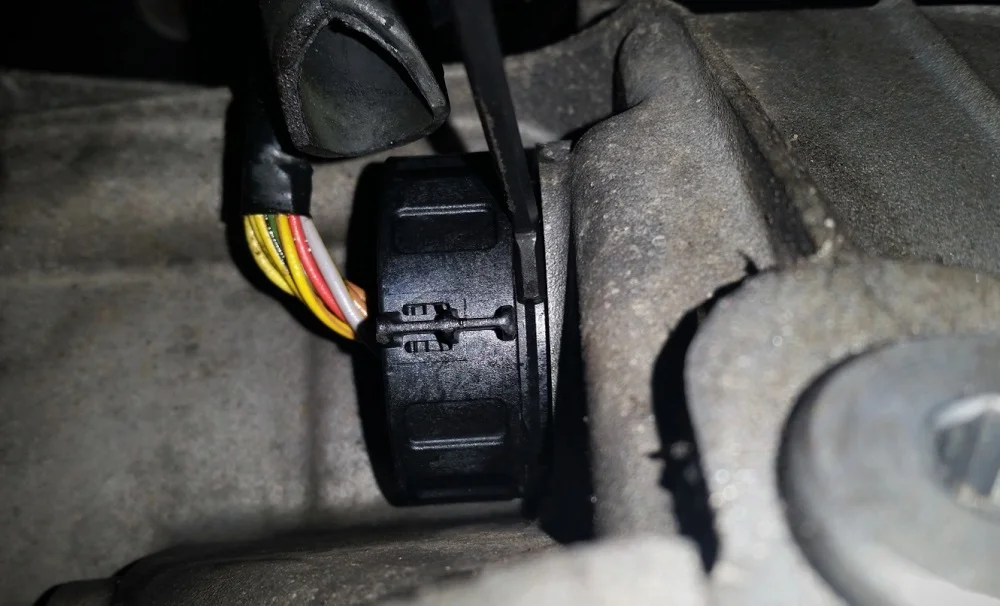
Step 2 – Disconnect the Mechatronic Connector
Next, locate the Mechatronic electrical harness connector on the passenger side of the transmission, toward the rear, above the fluid pan area. Disconnect the Mechatronic electrical connector by rotating the connector locking ring counterclockwise and pulling the connector from the housing. Position the connector out of the way to access the connector sleeve.
Step 3 – Locate the Mechatronic Sleeve Locking Tab

Locate the Mechatronic Sleeve locking tab, in the internal area of the transmission, below the location of the Mechatronic connector and sleeve.
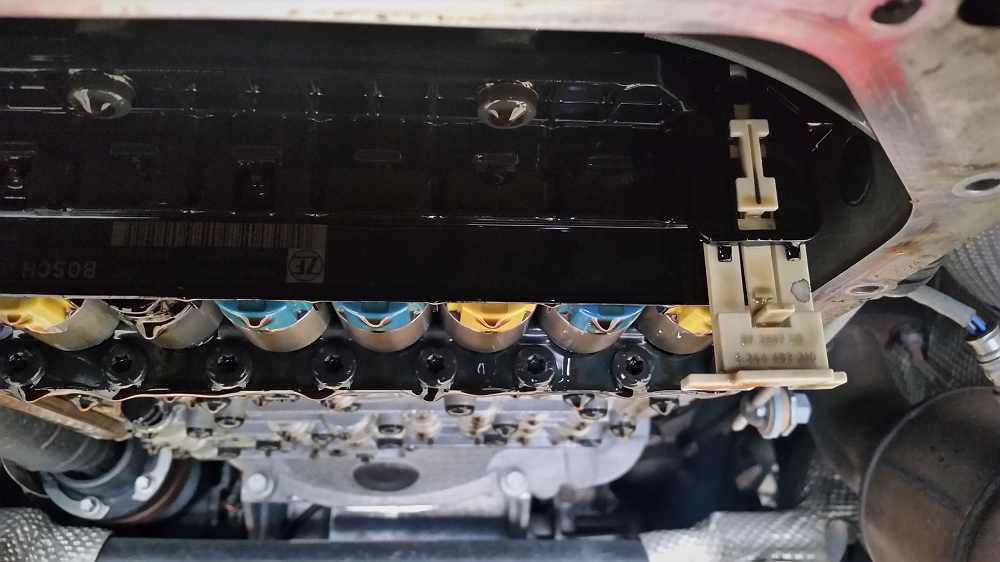
The white locking tab secures the sleeve in the transmission housing. Press the tab on the locking mechanism and pull downward. Do not force the tab. If the tab breaks, the complete Mechatronic valve body assembly must be replaced.
Step 4 – Remove the Mechatronic Connector Sleeve
Remove the Mechatronic connector sleeve by pulling it out of the transmission housing, toward the rear. You may need to pry it gently with a screwdriver in order to remove it. Compare the old sleeve to a new Mechatronic sleeve.
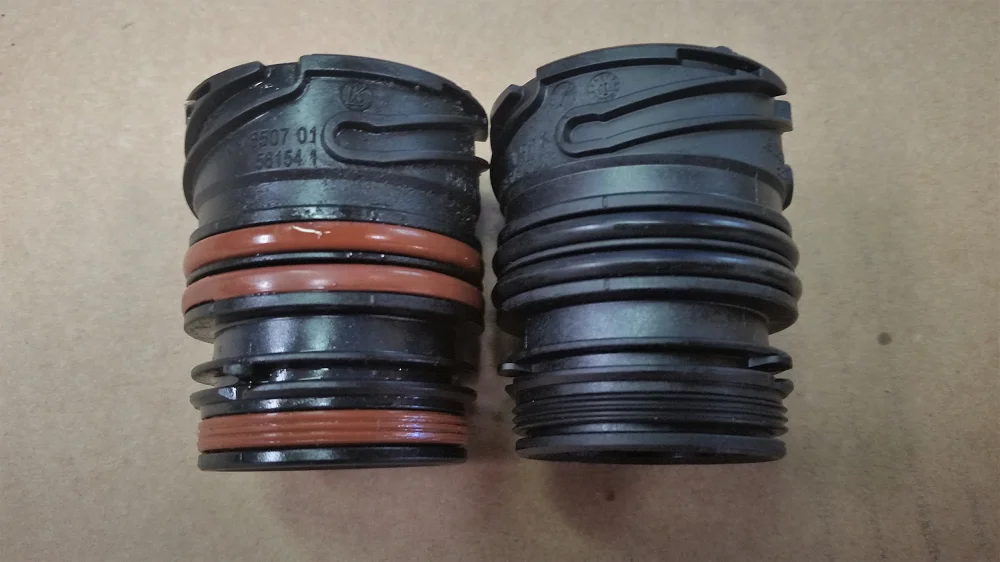
The O-rings on the old sleeve, shown on the left, are flattened and deformed, causing the fluid leakage.
Step 5 – Align the Sleeve

Note the indexing tab inside the sleeve. This must align with the notch in the Mechatronic electrical connector housing.
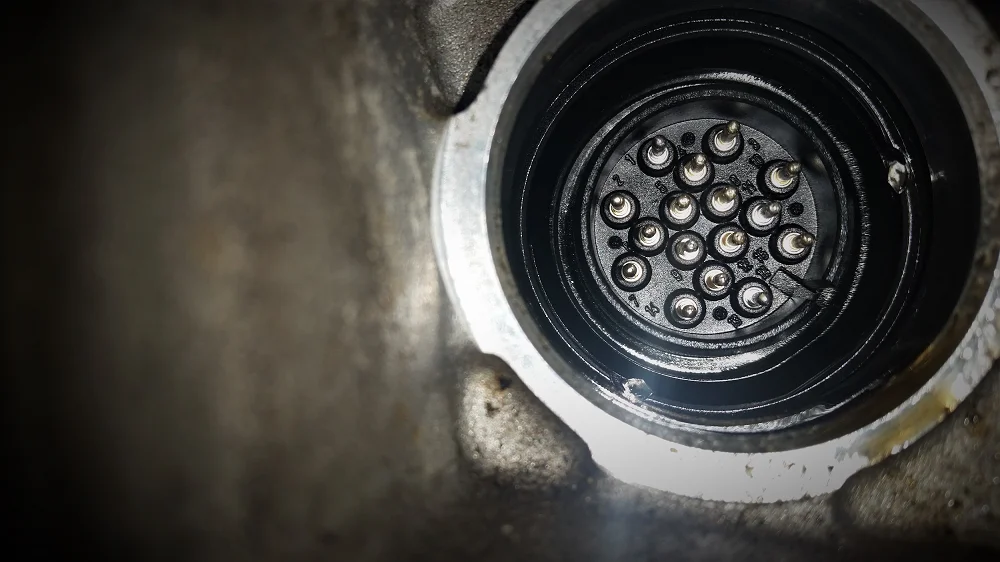
The notch in the Mechatronic electrical connector is located in the 4 o’clock position inside the connector housing.
Step 6 – Insert the New Sleeve

Lubricate the o-rings on the sleeve with silicone grease or fresh transmission fluid to ease installation.
Verify that the locking tab is in the downward position. Insert the sleeve into the housing and rotate it until the indexing tab aligns with the notch in the electrical connector. Use a small mirror to verify the alignment.
Step 7 – Press the Sleeve Into the Transmission Housing
Press the sleeve into the transmission housing. A pry bar or screwdriver may be used to carefully pry and press the sleeve fully into the housing. Use care to ensure that the sleeve and connector are not damaged.
Step 8 – Press the Locking Tab
Press the locking tab upward while adjusting the placement of the sleeve. Do not force the tab. The tab will slide up into place when the sleeve is properly aligned with the lock.
Step 9 – Reconnect the Mechatronic Harness Plug
Install the Mechatronic harness plug to the new sleeve and internal connector. Rotate the locking ring clockwise to fully engage the plug and lock it into place. There should be a 3 mm gap between the locking ring and the transmission housing. Check this by using a 3 mm Allen wrench inserted into the gap. If the gap is greater than 3 mm, the connector is not fully seated.
Step 10 – Install New Pan and Fresh Fluid
At this point you should be installing a new pan as the filter on these is built into the pan. Since you need to add new transmission fluid, it only makes sense to install a new filter/pan assembly. Make sure to use only the ZF brand transmission fluid or one that meets ZF’s rather specific requirements.
Find Genuine Replacement Mechatronic Sleeves, Pan/Filter Assemblies and More
ZF automatic transmissions are robust and fairly durable, but only if you use the right parts to service them. We offer a wide range of Genuine BMW and ZF parts, transmission fluids and Mechatronic components for your vehicle. To find parts that match your car, head over to our store and select your vehicle from the drop-down menu. It’s that simple!